I noticed people posting their broken plumeria branches or stems on social media asking what to do. They get answers like "Just plant the broken piece", or "You have now two plants, plant the broken stem, it will grow". Yes, there are places where growing Plumeria from cuttings is relatively easy (Mostly warm tropical and subtropical areas). Overconfidence or taking it too lightly can fail you in growing a plumeria cutting. This is going to be my ultimate guide on growing Plumeria from cuttings.
To make this guide easy to follow, I will guide you step by step maintaining the sequence.
Note: This comprehensive guide is written considering all climates, from the coldest to the warmest regions. In warmer places (Zone 9 and above), the chances of getting succeded in growing Plumeria cuttings are higher.
A new book on Plumeria Watering Guide has been released. You can find that -> When to water Plumeria (Inside that article, you will find that)
Your plumeria will be the same as the parent plant if you grow it from a cutting.
Please consider warm months to take Plumeria cuttings. ( Late spring to summer will be the best ) This is the active growing season.
Tip: Do not take cuttings in winter or dormancy. If you accidentally get a broken branch of Plumeria in winter, store it in a dry place for the next active growing season and plant it at that time following my below instructions.
To care for your Plumeria in winter, read the complete winter care guide: Complete Winter Care Guide for Plumeria
If you're taking a cutting from a parent plant, keep these factors in mind:
- Length and thickness of the cutting
- Identify mature and healthy stem
Length and thickness of a perfect Plumeria cutting
Make sure you are aiming for a cutting between 12 and 18 inches in length.
Note: I have grown multiple Plumerias from less than 12 inches cuttings and a few cuttings that are more than 18 inches and this is possible as I am growing it in Zone 10. Regardless of your location, follow the length suggestion I’ve provided.
You may wonder why I am suggesting a specific length suggestion. The reason is simple, your cutting needs to have enough energy inside it to sustain itself while roots develop. So my suggestion is not to choose a cutting that is less than 12 inches. For the upper boundary, too long cutting may die due to excessive water loss.
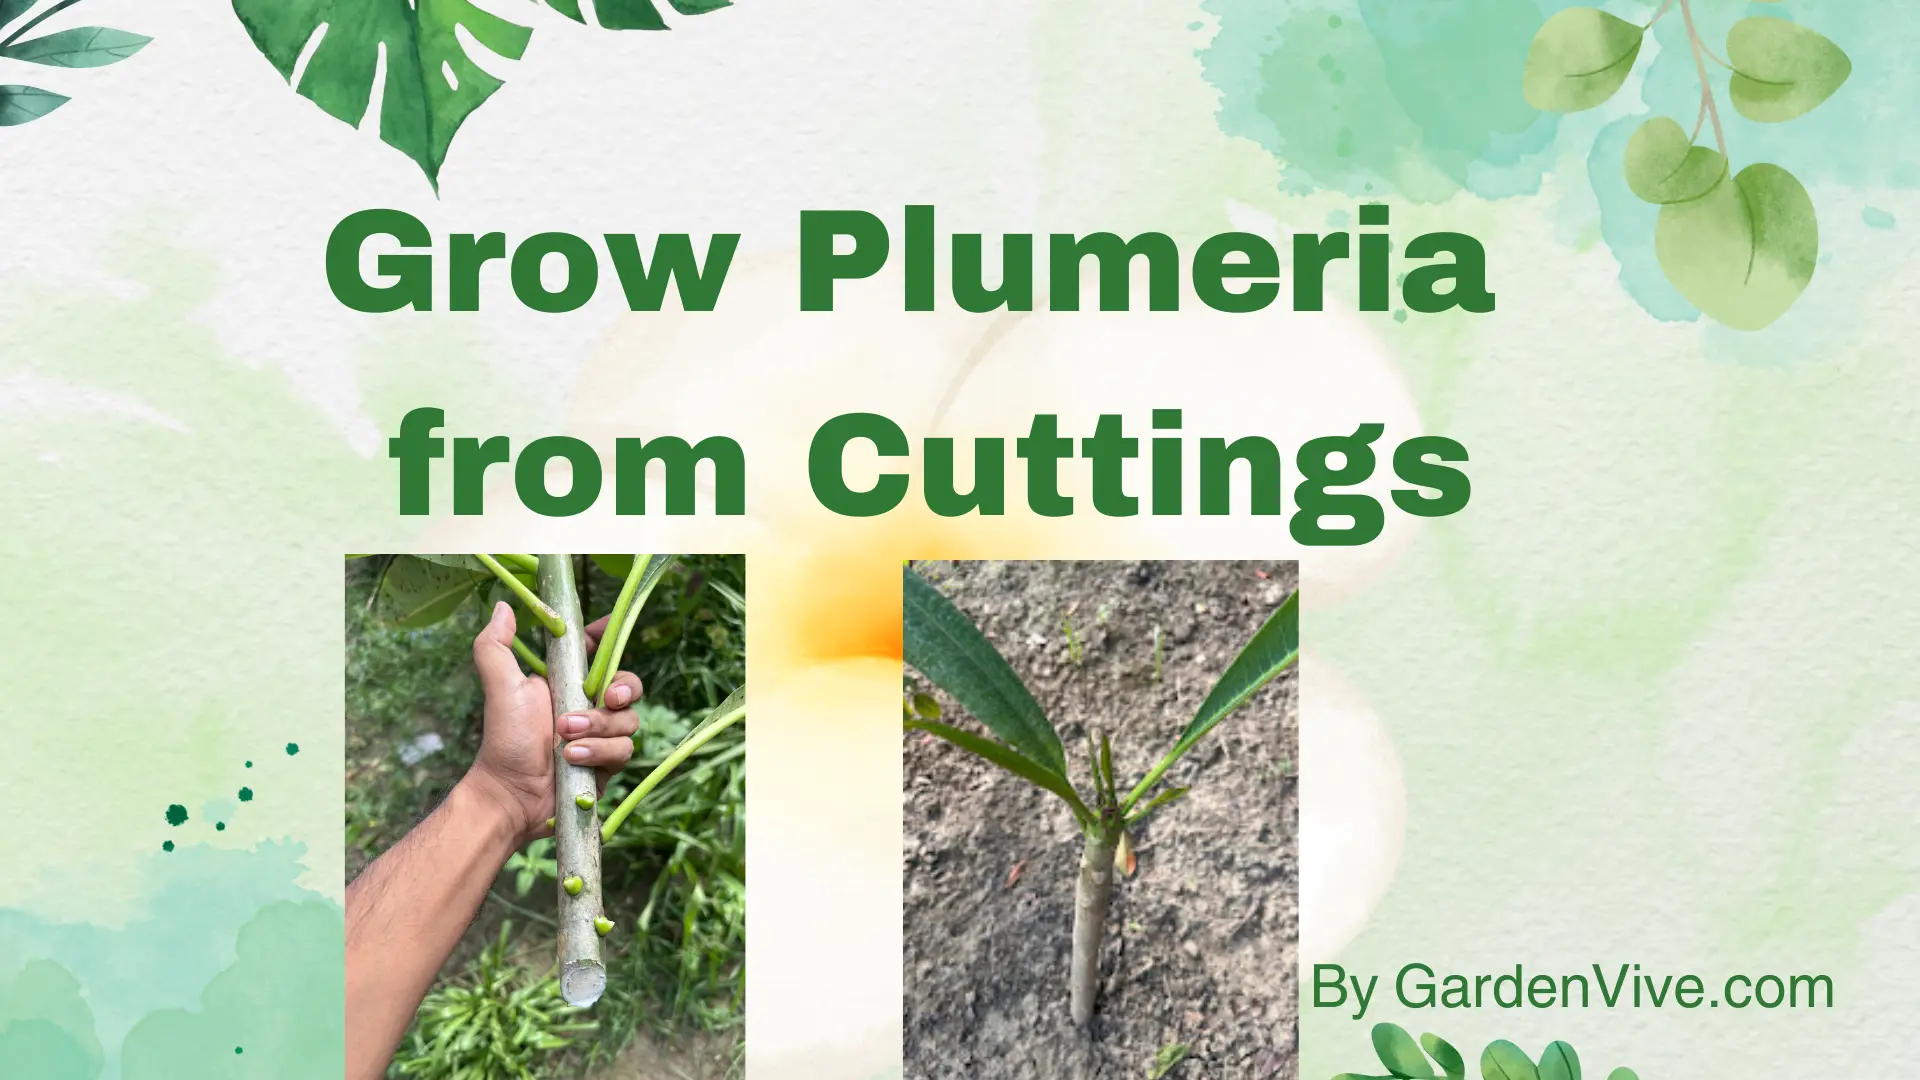
The stem cutting should be thicker than a regular marker pen. To get an idea of the proper thickness of a plumeria cutting check the below image:
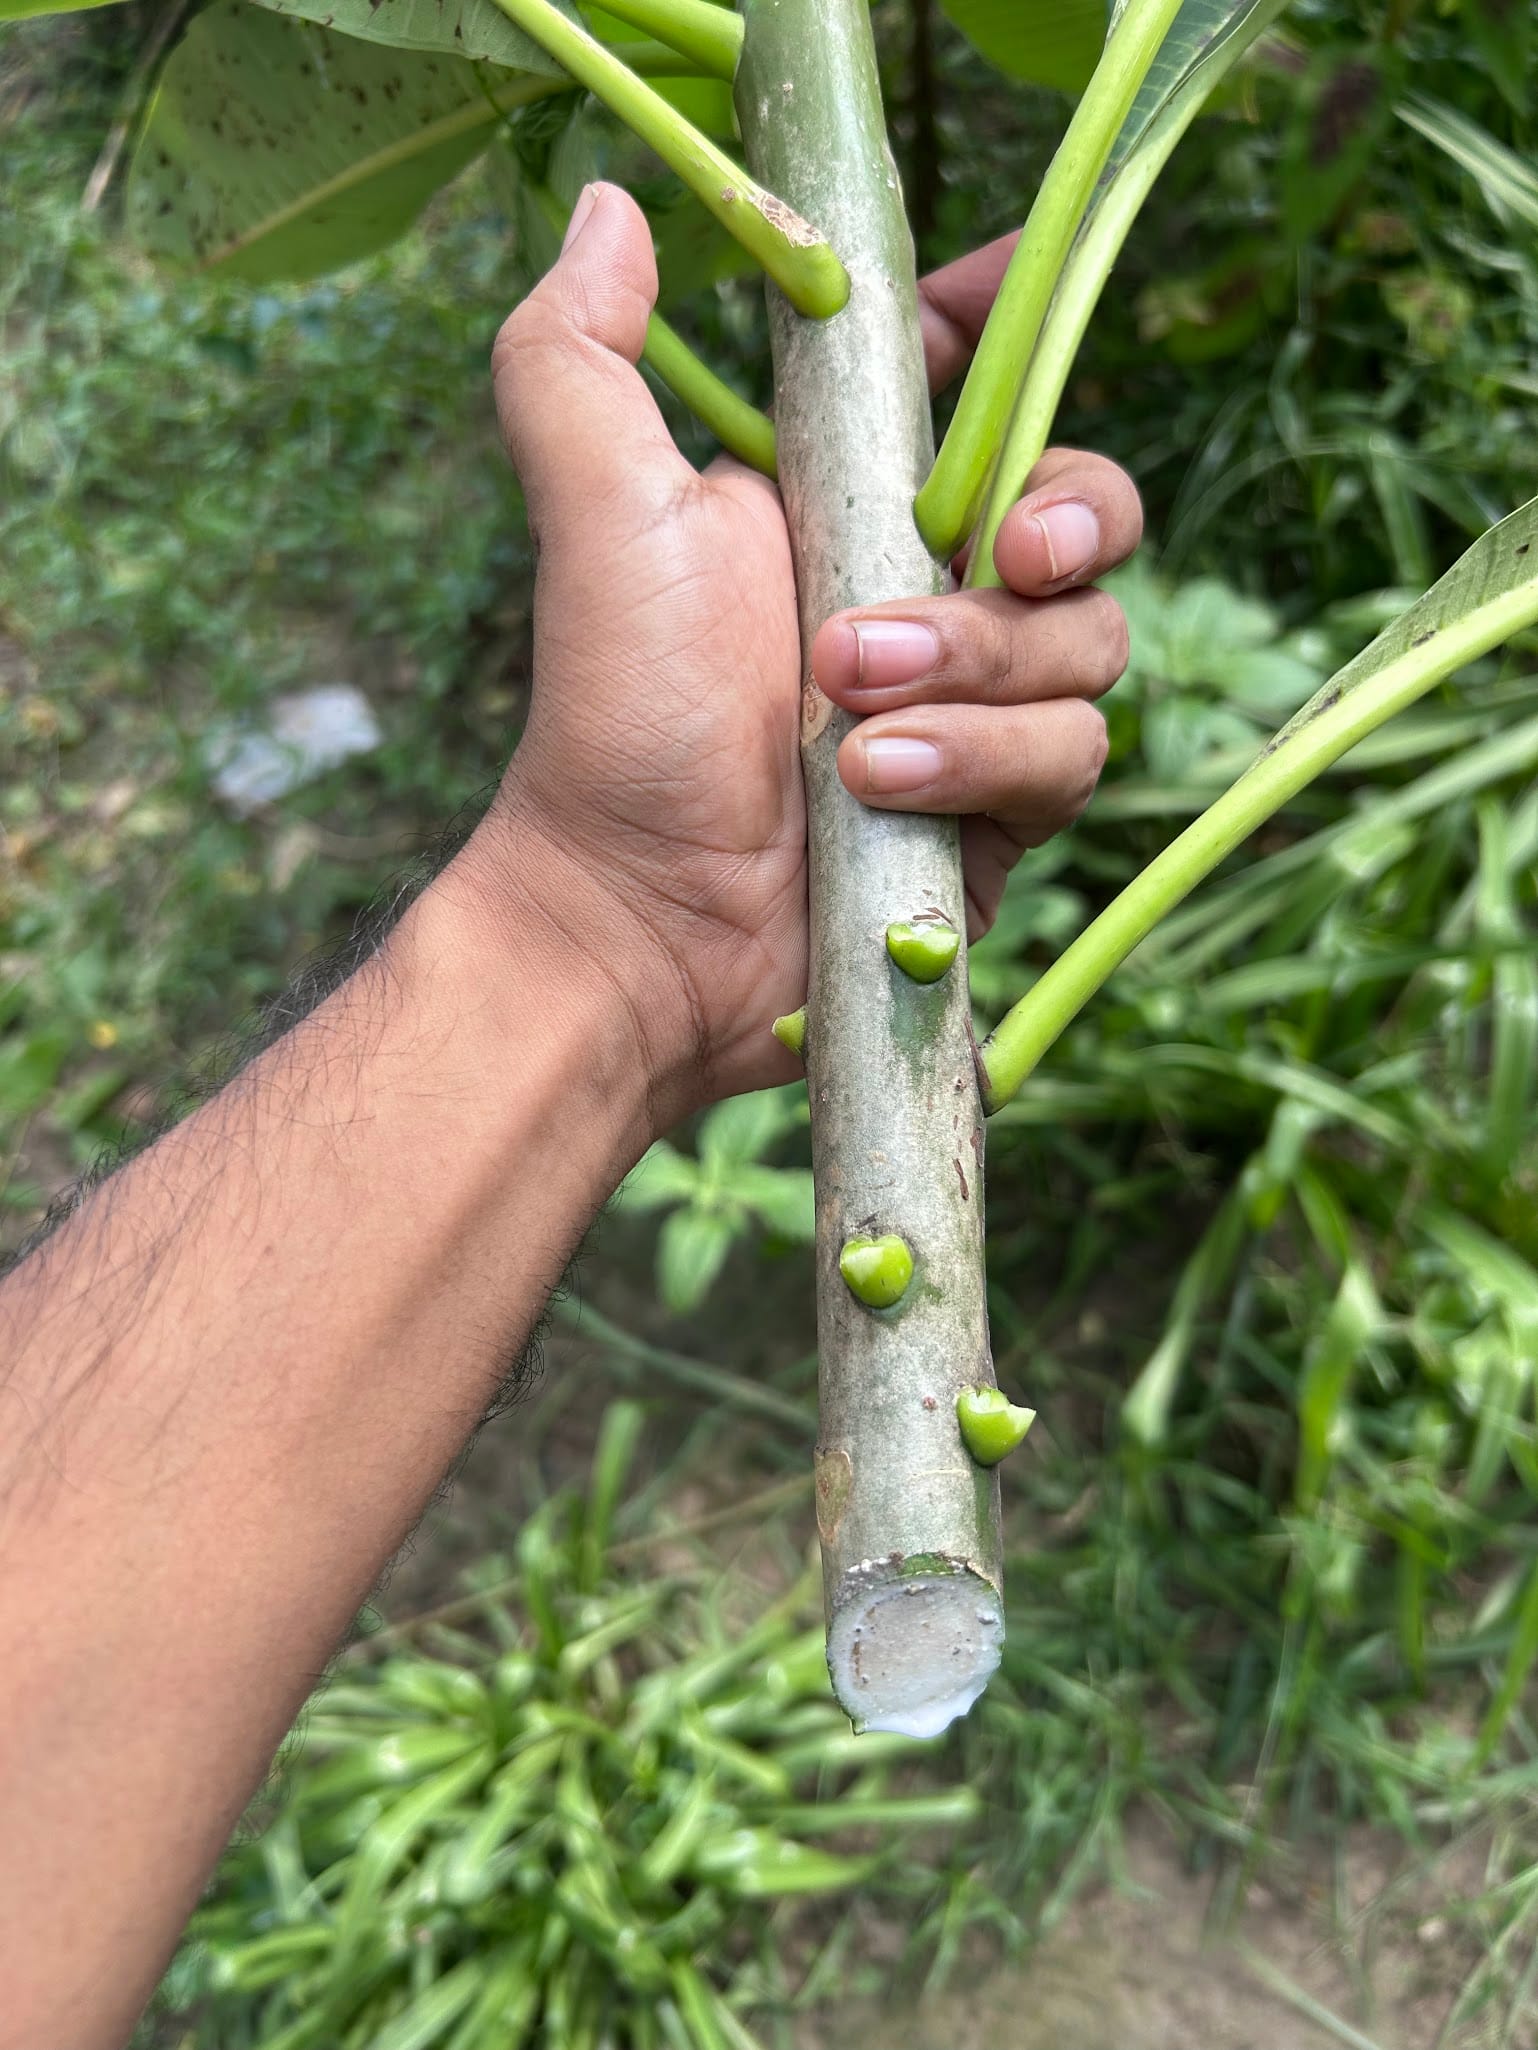
I cut a stem of my Plumeria two months back and took a photo. Now this plumeria cutting is established and healthy.
Tip: If you look at the picture of how I cut, you can notice the cut is not straight. There is a slight angle. This is how I do Plumeria stem cuttings. It increases the open surface area for rooting.
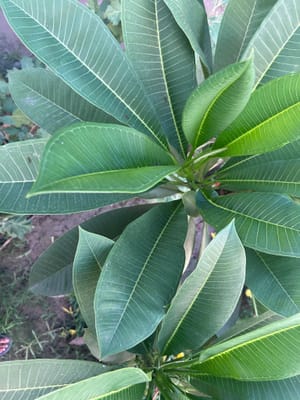
Take a look at the Plumeria plant that I grew from that above cutting:
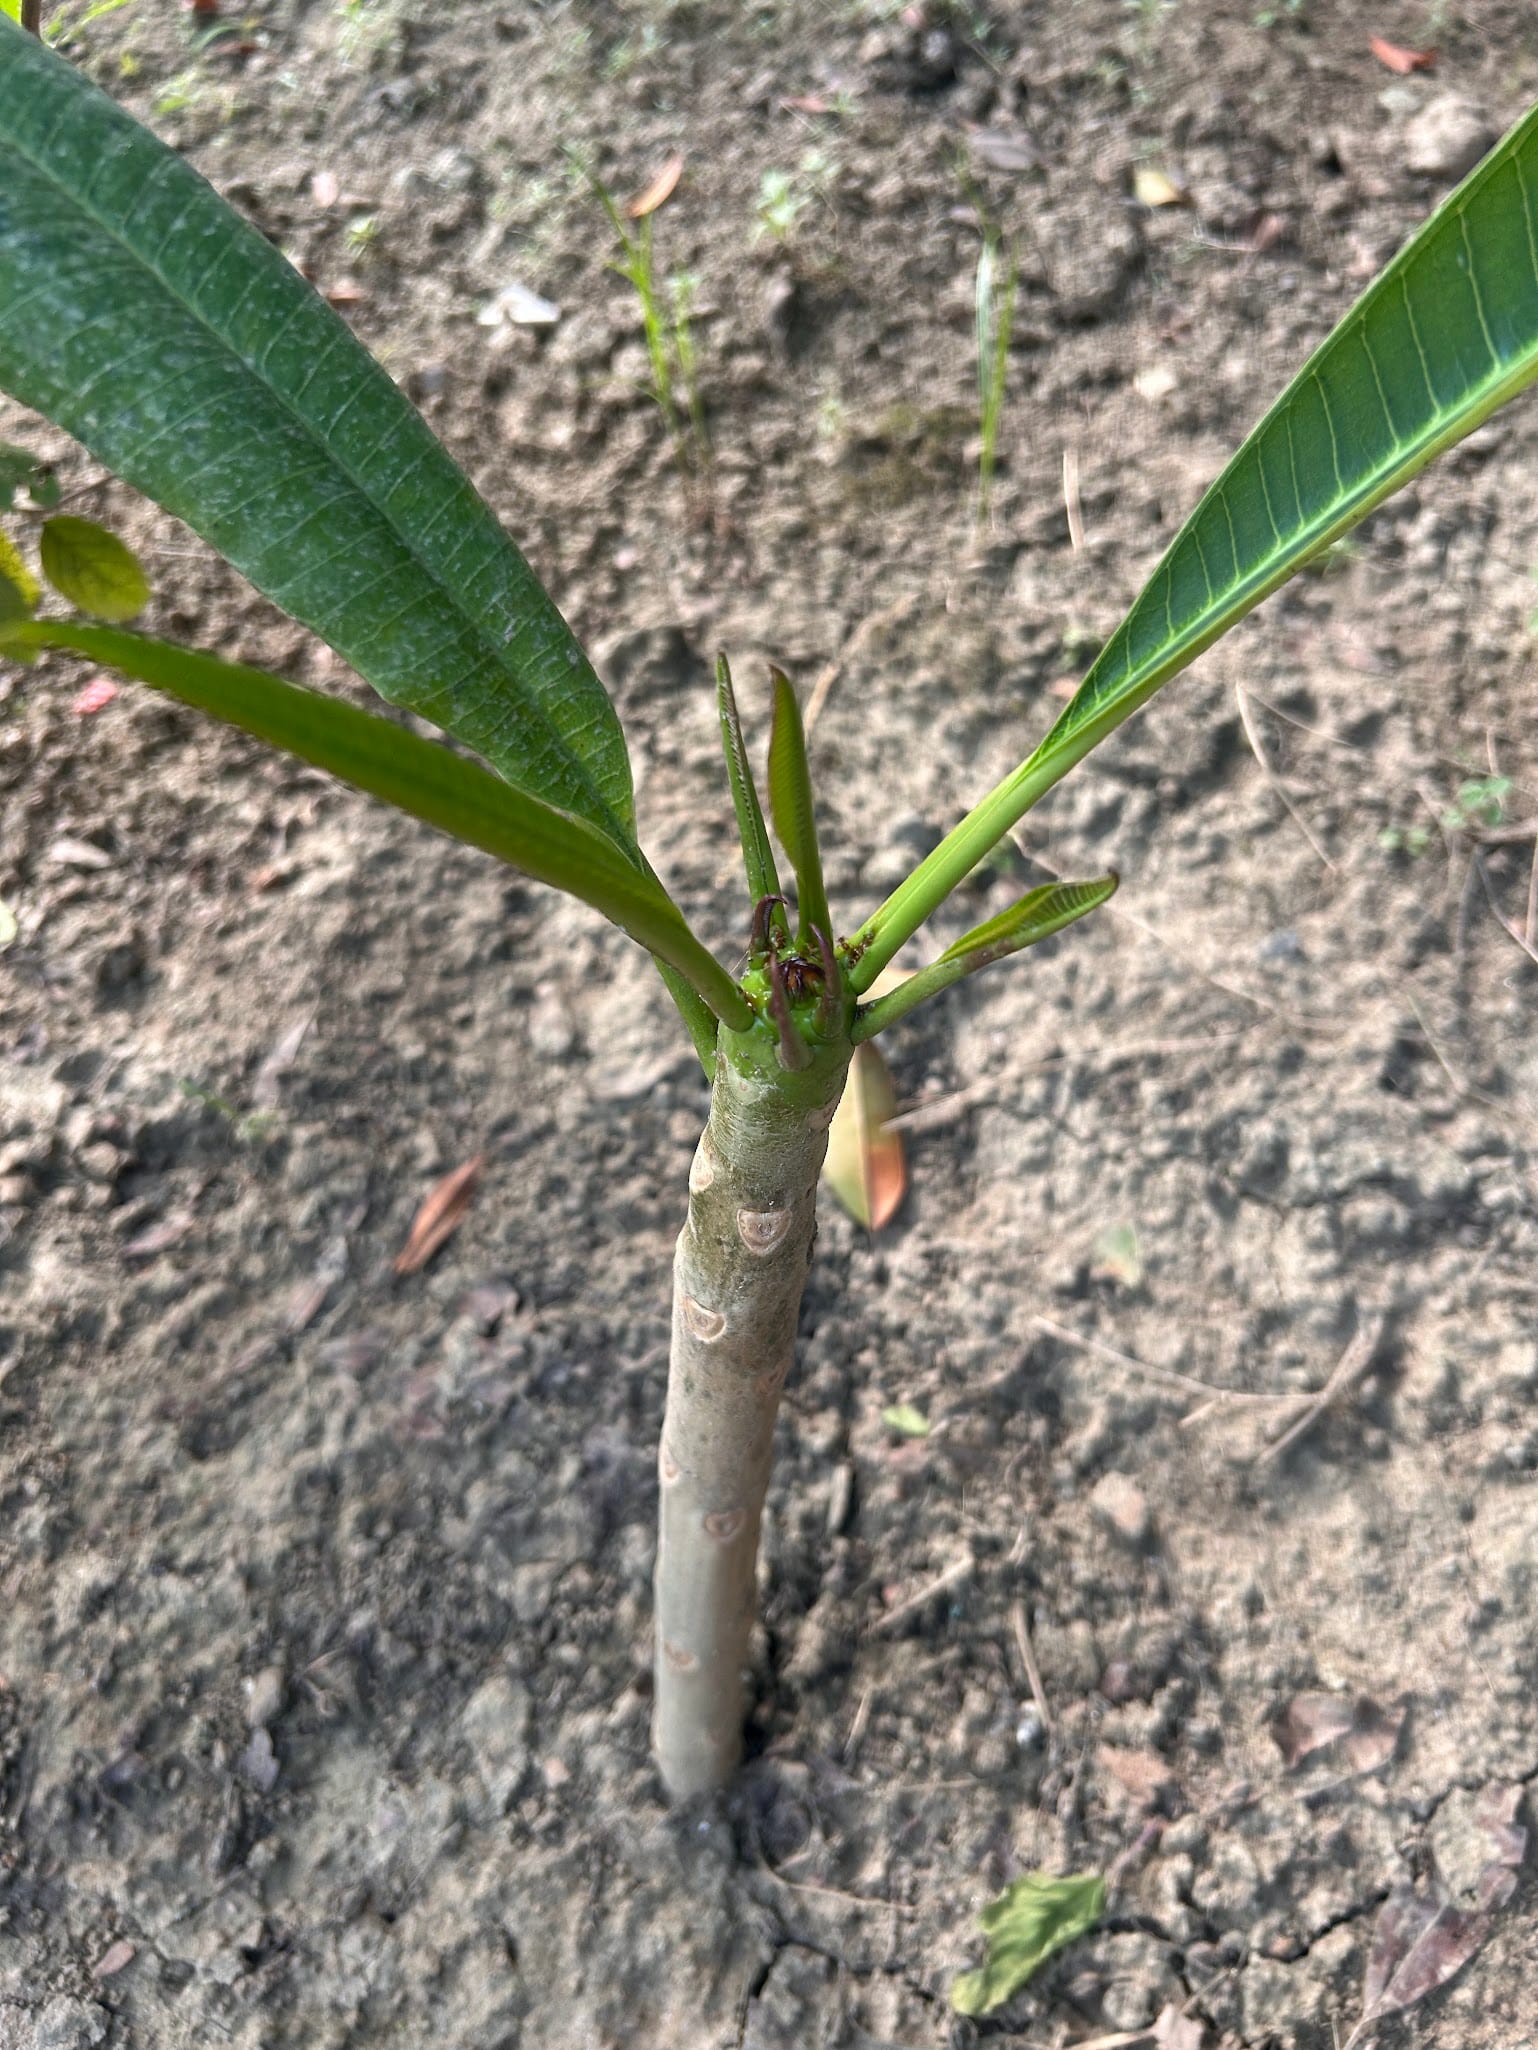
Choose a healthy and mature stem for cutting
The signs of a healthy stem for cutting:
- Firm
- Green or slightly brown
- Free from blemishes or diseases
Make sure that the stem has no soft spots or visible signs of rot. You will regret it if you ignore this. Plumeria is one of the easiest plants to grow from cuttings, the only issues people face are stem rot and root rot. So it's better to be cautious from the very beginning.
Note: Use a sharp knife or sharp tool to cut the stem. If possible sterilize the instrument with alcohol or spirit. (If you don't have any, wash the knife with hot water)
Prepare the Plumeria cutting for planting
The preparation involves two major steps:
- Removing the leaves
- Air drying the cuttings
Let's explore them one by one.
Remove the leaves so that your cutting can use inside energy to develop roots
Your first step is to remove all the leaves from the cutting. (Leave only newly grown leaves at the top)
Leaves cause water loss through transpiration in the stem after we cut it. As there will be no roots on the cutting, leaves will suck the moisture from the stem. By doing this you are actually helping the cuttings to use the inside energy to develop roots first instead of transferring the energy to the foliage/leaves.
I have seen a lot of people even trimming the tip and making it even more extreme. But I don't do this as after rooting the tip gets a faster growth if you leave them untouched.
Air Dry Plumeria Cuttings
Let your cuttings dry in the air. Just leave the cuttings in a warm, shaded location for 1 to 2 weeks.
I recommend choosing a place with good airflow. I leave them in my porch area as this is a shaded place and, they get good airflow as well.
There is a term used by gardeners and scholars to define this process. The term is "callousing".
Let's understand the benefits of this air-drying process. It will harden the open-cut surface and seal it. This will help your cutting to prevent rot inside the soil. (As there are many substances that can go into the stem through open cuts. )
It's the natural process of healing most of the organic living creature.
Tip: Do not expose to direct sunlight to dry the cuttings.
Now you are ready to move to the next step which is planting.
How to plant Plumeria cutting?
In this section, I will cover the next steps:
- Pot or Ground - which should be your choice while planting Plumeria cuttings
- Prepare soil
- Planting instructions
Pot or Ground - where to plant Plumeria cuttings
When it comes to planting, the first question appears: Where should I plant my Plumeria cutting?
For those who live in colder regions (Below USDA 9 or the places where winter temperature falls below 46°F or 8°C), it is best to plant in pots.
People who live in warmer places like tropical or subtropical can plant it in the ground and pots both.
Choose a pot with 3 to 4 drainage holes at least. ( I am not going deep into the pot size discussion, as it depends on the size of your Plumeria cuttings ) Let me know your plumeria cutting size in the comment, and I will respond.
My suggestion is to buy the pots that have holes in them at the bottom. If you have pots that you want to use and there are no holes, heat up a screwdriver with fire or any iron stick and make holes with it. Here's how I make holes in my pots:
Soil Preparation
Plumeria needs fast-draining sandy soil that prevents waterlogging.
Waterlogging can cause root rot. A cactus or succulent mix will be a great choice.
But I prefer my blend, 50% perlite or sand with 50% potting soil. The result is almost the same as the cactus mix. Remember this sandy soil is for growing the roots from the cuttings. Once the plant is established you can repot or transplant it to less sandy soil.
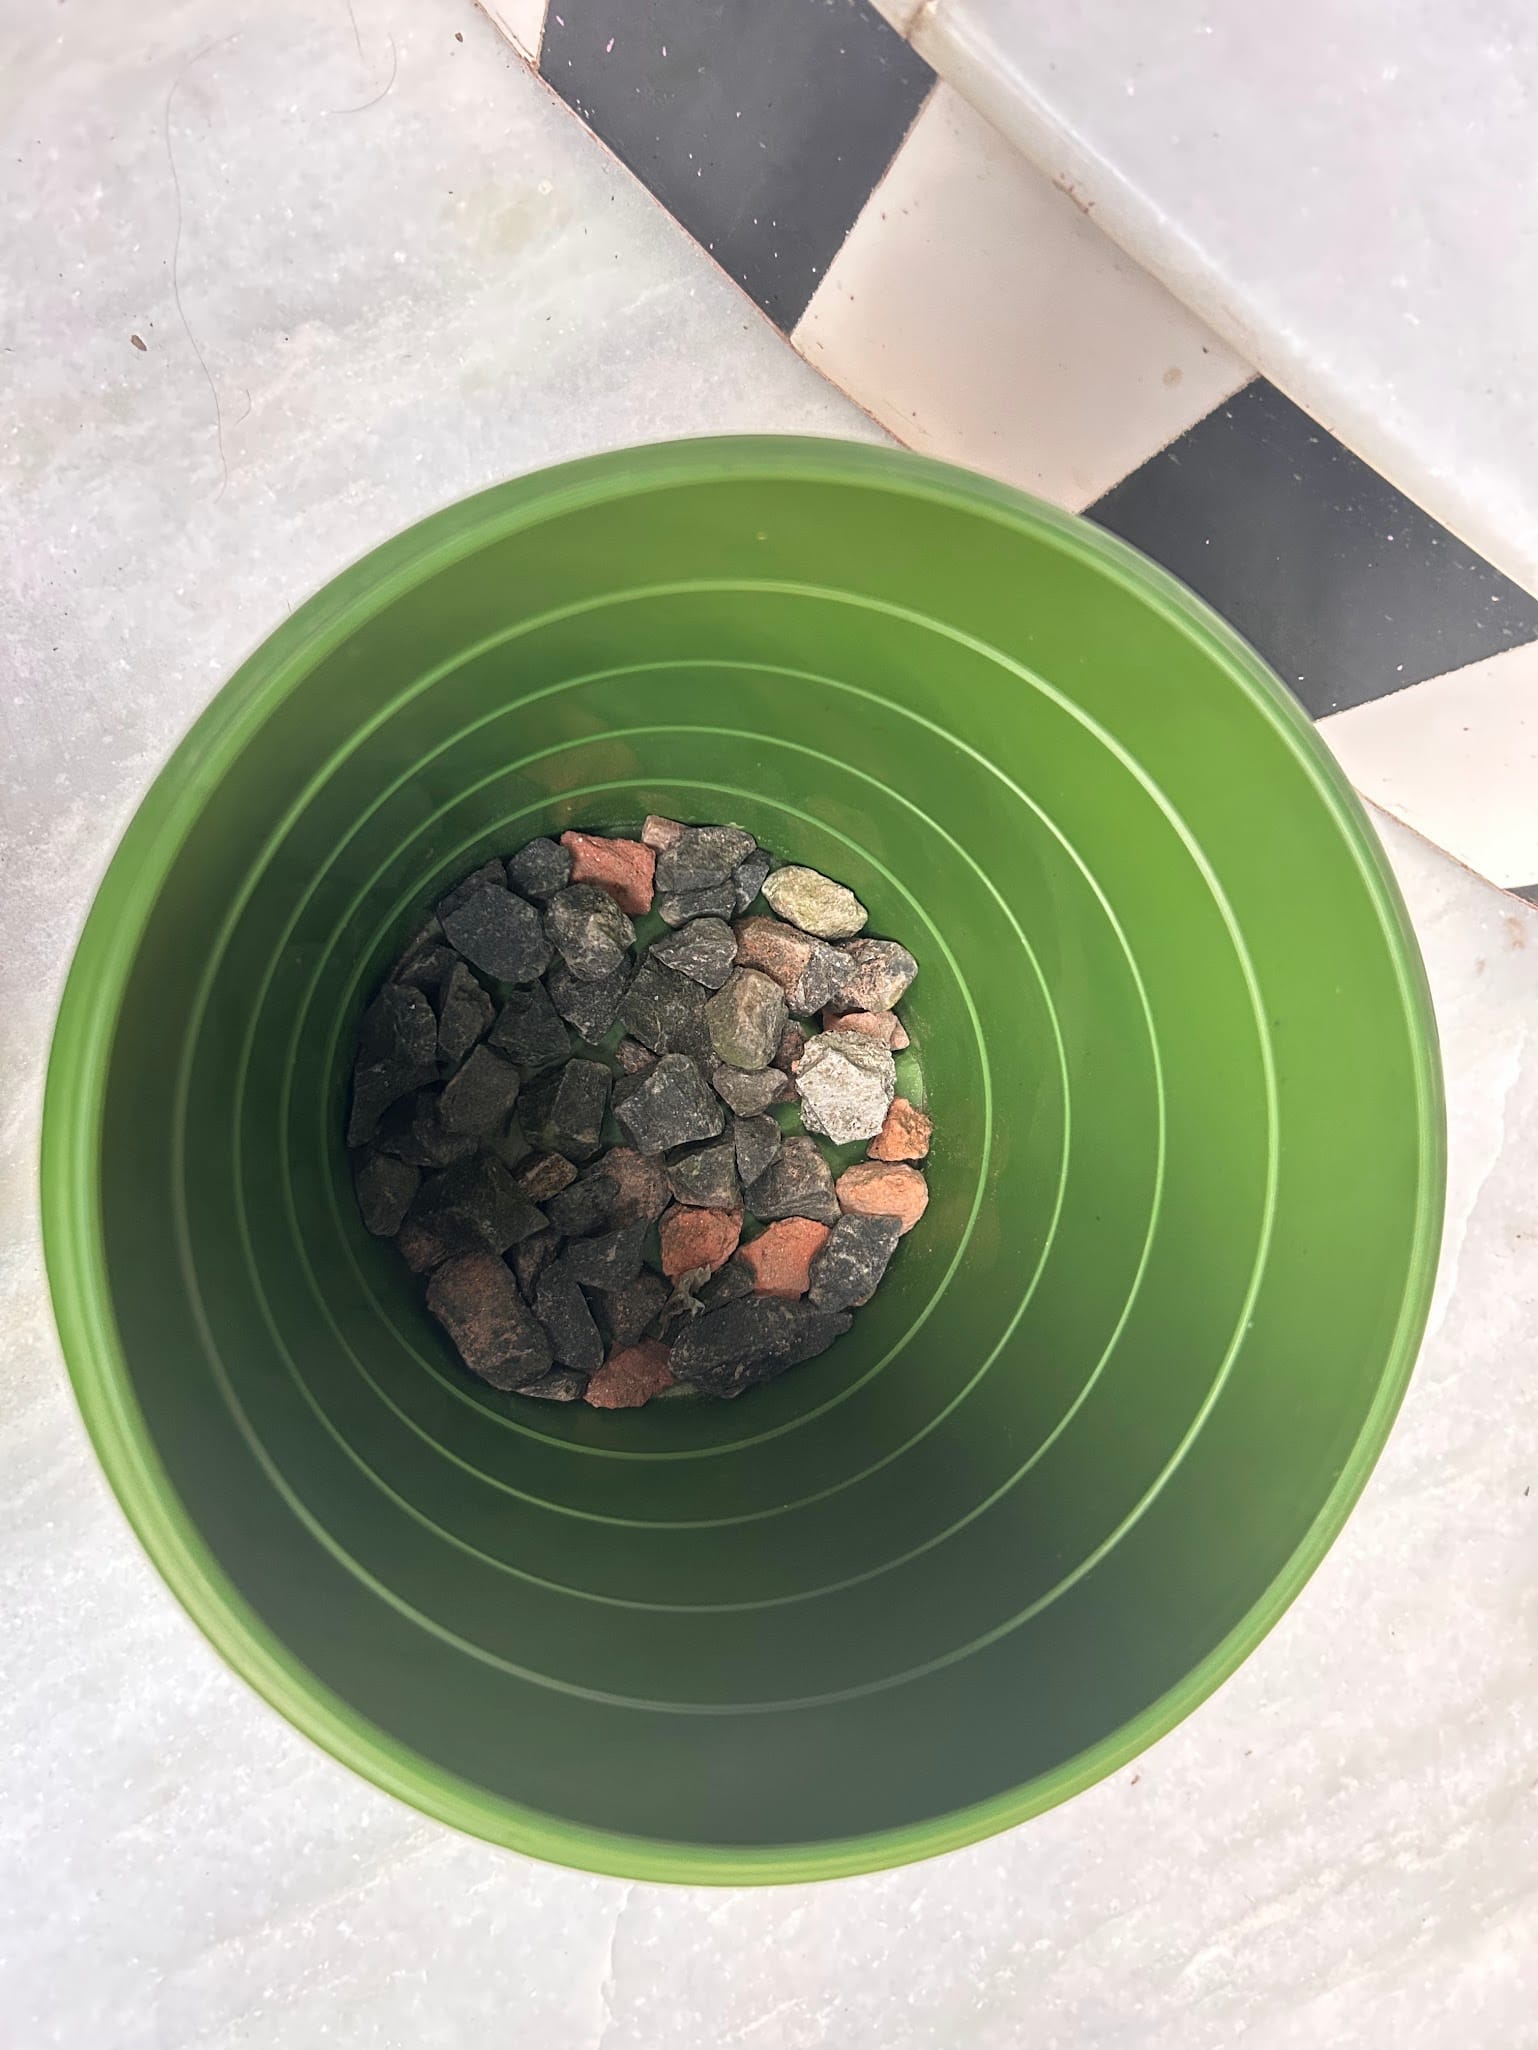
At the bottom of your pot, spread some small pebbles or rocks, it helps in overwatering to drain the water.
Planting Instructions
Plant the cutting (cut end) 3 to 4 inches deep into the potting soil. If you are planting in the ground do the same, plant it inside 3 to 4 inches deep in the soil.
3 to 4 inches is enough to give your cuttings stability. If you go deeper it will not help your cuttings in any way. Even it can lead your cuttings to rot. ( if your cutting is more than 18 inches which I do not recommend then you can go as deep as 5 inches)
Tip: Dip the open-cut end into any rooting hormone. It will help to develop roots faster after planting.
If possible, plant it in a location that provides bright indirect sunlight with good airflow. It can tolerate sunlight at a certain level. But try not to put it in direct sunlight before your first repotting. Those who are growing it in the ground and will not change its position can go for a sunny location. During the first month, cover the plant using bed sheets or cover sheets when the sun is on the top.
Try to plant it straight.
That’s all! We’ve covered the guidelines up to the planting stage. Now, all your cutting needs is your care and attention.
I did not talk much about watering as I have a full dedicated article on When to water your Plumeria
Caring Instructions for your Plumeria cuttings
| Care Aspect | Requirement |
|---|---|
| Sunlight | Bright, indirect sunlight during rooting. Full sun (6+ hours) once established. |
| Watering | Light, infrequent waterings. Water when top 1-2 inches of soil are dry. |
| Temperature | Keep above 60°F (15°C). Optimal range: 70-85°F (21-29°C). |
| Rooting Time | 8-12 weeks. Look for resistance when gently tugged and new leaf growth. |
| Transplanting | Transplant once roots are established, typically after 8-12 weeks. |
Gently tug the cutting after a few weeks of plantation. If you notice resistance and new leaf growth, it means roots start to form.
Inside the stem, there was energy so new leaf growth does not indicate root development always.
If you find any new leaf yellowing that might be an overwatering issue or waterlogging. Check my guides for yellow leaves here: Yellow leaves on plumeria what to do.
F.A.Q
Is it possible to grow Plumeria from a broken branch or stem?
Yes, you can grow new Plumeria plants from broken plumeria branches or stems. Choose a stem for cutting as per my given instructions and follow all the steps.
It takes a lot of time to gather experiences and share them through articles. If you like what you read, consider subscribing to this site. It's free and it motivates me to write more guides. Be sure to share this with other Plumeria growers you know.

