Radishes are a vegetable that I grow every year in my home garden. I am so much addicted to this that I can't prevent myself from growing it.
Many newbie gardeners ask me about the procedure of growing radishes in their garden. So this article focuses on how to grow it in their home garden. So let's begin...
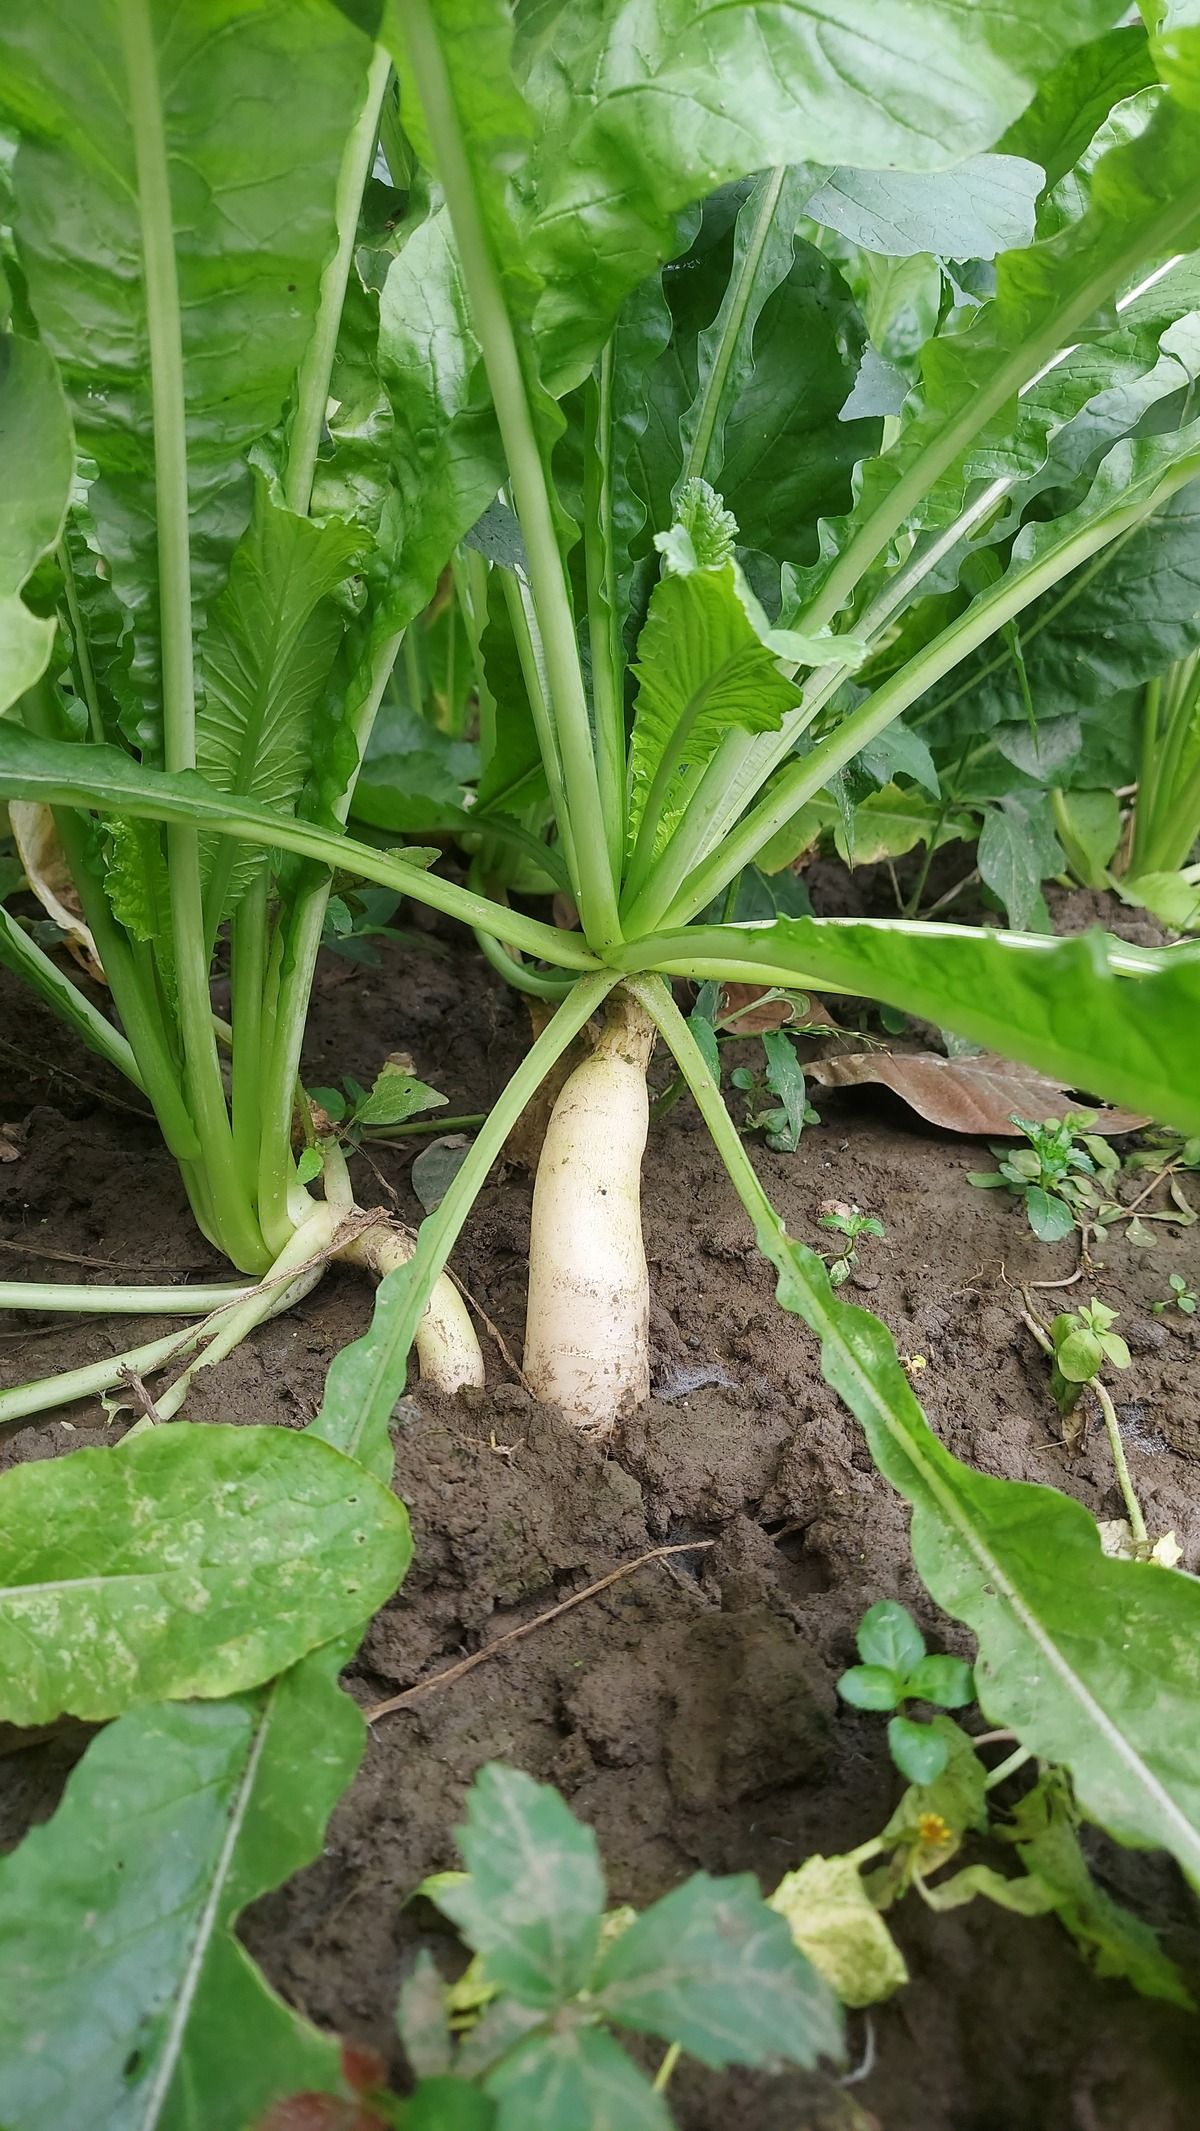
Radishes do well in the cool temperatures of spring and fall, maturing swiftly for harvest within a few weeks. The best thing I love about radish is that every part of this plant, from its roots to leaves, is consumable and can be savored both raw and cooked.
The ideal periods for planting radish seeds are in the cooler seasons of spring and fall. Avoid sowing during warmer temperatures (70 degrees or above) as this leads to bolting, rendering the radishes inedible. It is among the most straightforward vegetables to cultivate.
Their rapid maturation makes them suitable for planting in any vacant spot, or alongside other vegetables like carrots or beets. Another good thing about radishes I think, is excellent as companion plants, aiding in pest deterrence for other vegetable crops.
Recommended Radish Varieties to grow in your garden
There are varieties suitable for both spring and winter cultivation. Typically, smaller radishes are milder in taste, while larger varieties tend to have a spicier flavor. Note that small round varieties are less heat-tolerant compared to the longer types. Therefore, it's recommended to plant the smaller types early in the spring before moving on to mid-size varieties.
Below I have listed some of the varieties of radishes:
- ‘Champion’: This one is a spring variety of small type, this radish features bright scarlet skin with firm, crisp white flesh and a mild flavor.
- ‘Cherry Belle’: This is another small type variety of radish. This heirloom radish is round and red with white flesh, offering a crisp, light flavor.
- ‘Burpee White’: This spring variety is a small, heirloom radish with white crisp flesh and a mild flavor.
- ‘German Giant’: A spring variety, these radishes are red and baseball-sized. They never get too hot and have a sweet and mild taste.
- ‘French Breakfast’: A late-maturing spring type that can tolerate moderate heat. This heirloom radish has 3-inch red roots, an oblong shape, and a mild flavor.
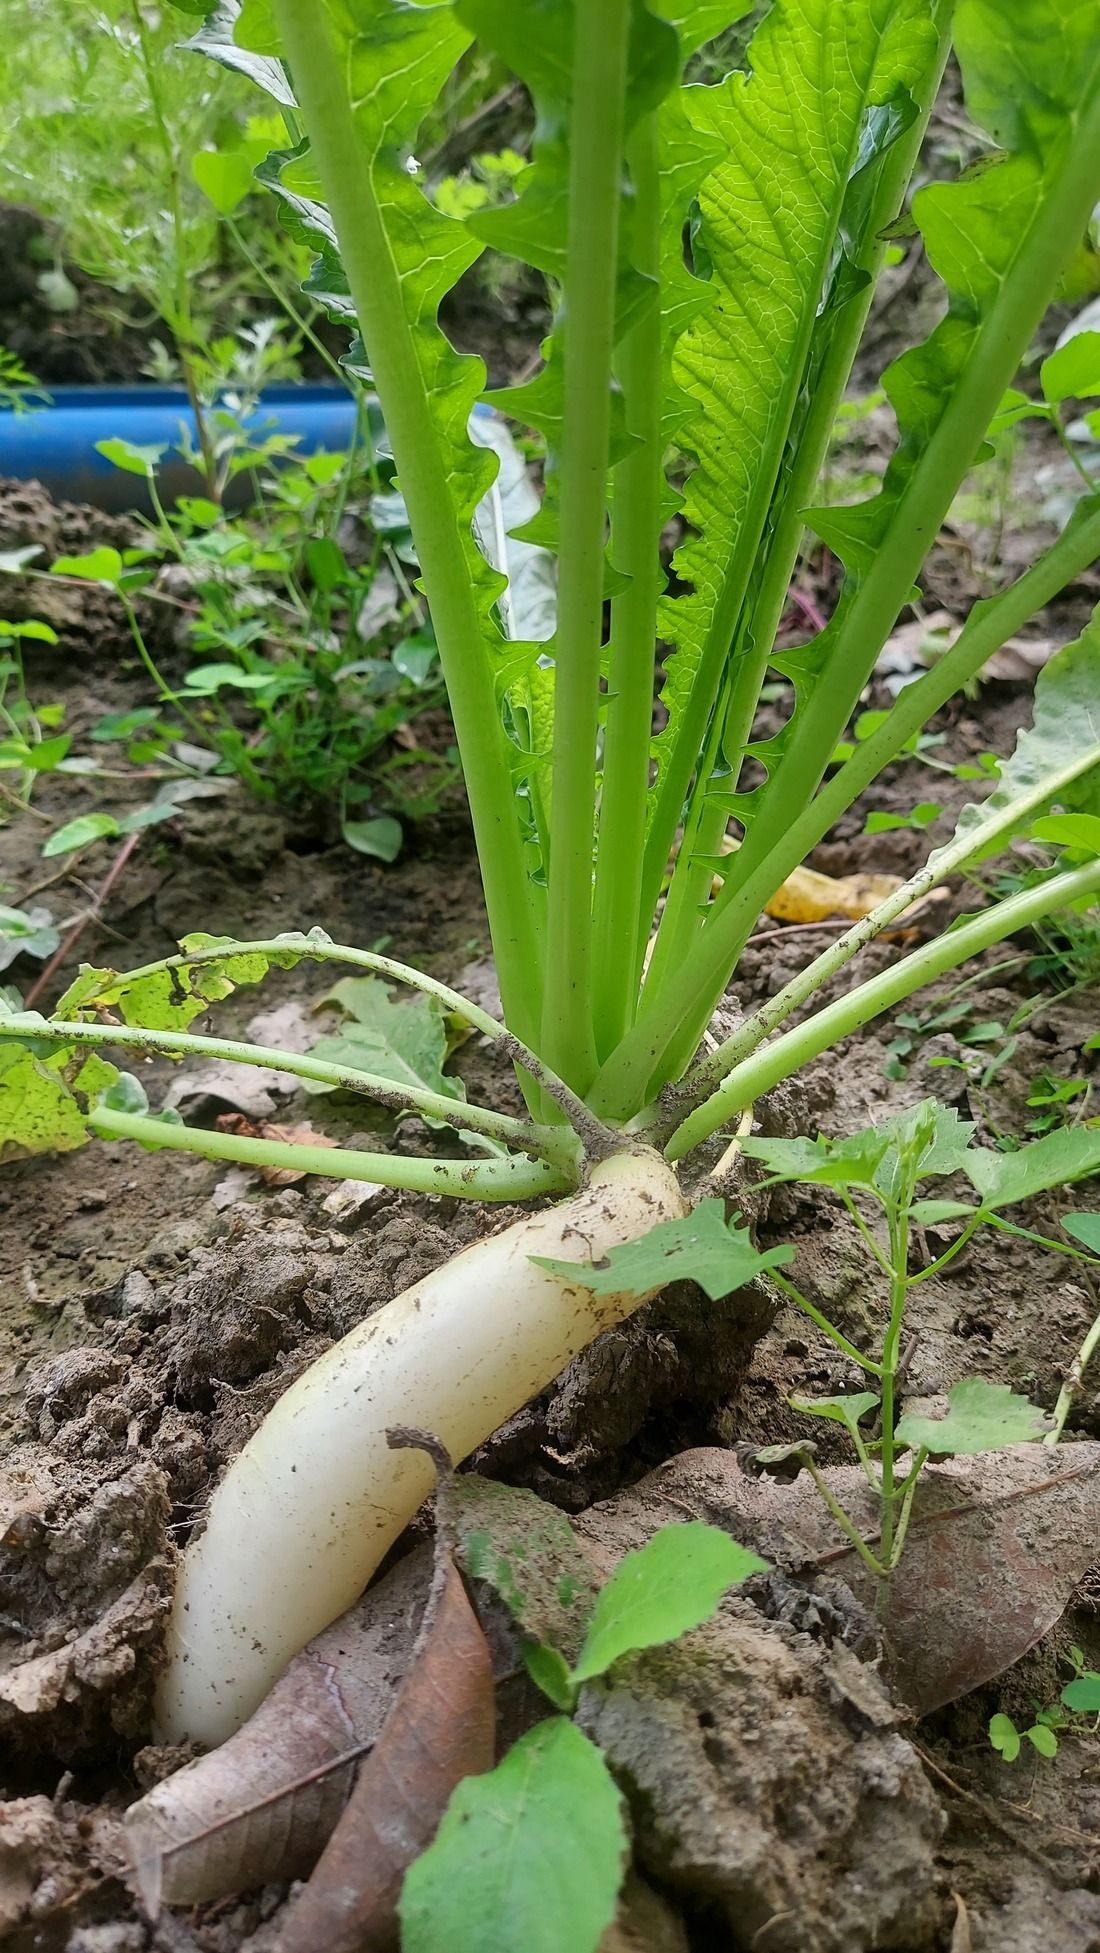
- ‘White Icicle’: This one is suitable for late spring, this variety has cylindrical white roots up to 5 inches long. It can tolerate moderate heat and offers a mild flavor with hints of pepper.
Radish Planting Guide
I have already discussed a lot about radishes. Now it's time to plant it in your garden. So without wasting any more time let's continue...
Selecting the Right Location
Radish requires a good amount of sunlight. So make sure to choose an area that receives a minimum of six hours of sunlight each day. Planting radishes in too much shade or under the shadow of nearby plants will cause them to focus energy on leaf growth rather than root development.
Preparing the Soil
Tilling the soil is crucial, as radishes do not give maximum results in compacted soil. Clear away rocks and, if dealing with clay soil, incorporate some organic matter to enhance drainage and looseness. For longer radish varieties like 'White Icicle', till up to a depth of 8 inches.
When to Plant Radishes
- Spring Planting: Sow seeds 4 to 6 weeks before the last expected spring frost.
- Fall Planting: Plant seeds 4 to 6 weeks before the anticipated first fall frost.
How to Plant Radishes
- Mix in organic matter before planting, but steer clear of fresh manure or high-nitrogen fertilizers, as these can lead to excessive leaf growth at the expense of the roots.
- Radish seeds remain viable for a long time. Seeds up to 5 years old can still be used, though not all may germinate.
- Directly sow the seeds outdoors, burying them about 1/2 inch deep. Space them 1 inch apart in rows 12 inches apart. Thoroughly water the seeds, ensuring moisture reaches down to 6 inches.
- To maintain a continuous harvest in late spring and early summer, sow a new batch of seeds every 10 days as long as the weather remains cool.
Growing
Thinning Process for Radishes
One of the important key factors in successful radish growth is proper thinning. When seedlings reach a height of about 2 inches, or roughly a week after sprouting, they should be thinned to ensure a spacing of three inches between each plant. Overcrowded radishes typically fail to develop properly, resulting in small, withered roots that are not suitable for consumption.
To thin the radishes, simply trim the greens at the level of the soil. These trimmings are completely edible and make a great addition to salads! So, nothing is wasted here.
Alternatively, if the thinning is done gently, keeping the roots, leaves, and stems intact, you can replant these thinnings. While the transplanted radishes may experience some initial stress, they usually recover well.
Watering
It is important to have a balancing approach in watering for radish growth. It is crucial for the soil to remain consistently moist without becoming dry. Dry conditions can lead to the development of pithy and overly sharp-tasting roots. On the other hand, overly saturated, waterlogged soil can cause the roots to rot. Implementing a drip irrigation system can be an effective method for maintaining this moisture balance.
Mulching and Pest Prevention
Applying a layer of mulch made from compost mixed with wood ashes can aid in retaining soil moisture, especially in arid conditions. This type of mulch also helps in deterring root maggots.
Weed Control
Regular weeding is essential, as weeds can rapidly overtake and impede the growth of radishes. Regular removal of weeds ensures that radishes have enough space and nutrients to develop properly.
Harvesting Guidelines
Now its time to focus on harvesting radish. Below I have separated the two important points related to harvesting:
Timely Harvesting of Spring Radishes
One common error with spring radishes is delaying their harvest beyond peak maturity. If left in the soil too long, they become tough and develop a starchy taste. No one is going to like that type of radish in their meal.
Conversely, winter radishes can remain in the ground for a few weeks after reaching maturity, especially in cool weather. However, ensure to complete the harvest before the onset of frost.
Harvesting Techniques
To determine the right time for harvesting, refer to the specific grow times indicated on your seed packet, as they vary among radish types. Some radishes may be ready for harvest as early as 3 weeks after planting, ideally when the roots are about 1 inch in diameter. It is recommended to conduct a test by pulling out one radish to check. In this way, you will get some ideas.
Another indicator of a radish's readiness for harvest is the size of the green growth above the soil, which should be between 6 to 8 inches tall. Additionally, a visible sign that your radishes are mature is the protrusion of the radish's “shoulder” or top part above the topsoil. This can often be seen or felt when the radish is ready to be harvested.
Managing Bolted Radishes
If some of your radishes bolt (flower) before harvest, consider leaving a few to produce seedpods. These pods, resembling small beans or peas, can be a delightful addition to salads due to their unique taste. In my home garden, in every season get a few radishes bolt before harvest. This is a common thing for vegetable gardeners.
Storing Radishes Effectively
After harvesting, trim off the radish tops and the slender root tail, then wash and thoroughly dry the radishes. Store them in produce or zip-top bags within the crisper section of your refrigerator. The radish greens, if stored separately, can last up to three days. Keep them in a produce bag with a dry paper towel to maintain freshness.
Old Remedies and Tips
- An 18th-century remedy suggests that for hoarseness, slowly swallowing radish juice can be beneficial.
- For mosquito bites, applying radish juice may alleviate the sting and itching.