If you are following my blogs on Plumeria, you must noticed that I have been sharing all the issues related to Plumeria one after another. But today, I am going to talk about the bagging of plumeria for rooting.
I grew a lot of plumerias from cuttings and seed propagation. But when I tried bagging for rooting for the first time, I was amazed seeing the success rate. It was a lot more than I expected.
Why Bagging Works for Plumeria Rooting
Plumerias perform well in tropical conditions, where warmth, humidity, and bright light encourage fast growth. However, in many regions, the climate is less than ideal, especially during cooler months or in arid areas. This is where the bagging method steps in to provide the perfect rooting environment by offering:
- High humidity: The enclosed space traps moisture, preventing the cutting from drying out while encouraging the growth of delicate roots.
- Increased warmth: The bag acts as a mini-greenhouse, capturing and retaining heat, which is essential for root formation in plumerias.
- Protection from the elements: Whether it's wind, excessive sunlight, or fluctuating temperatures, the bag shields the cutting from external stress.
Step-by-Step Guide to Plumeria Bagging for Rooting
1. Gather Your Materials
Before you begin, make sure you have the following items:
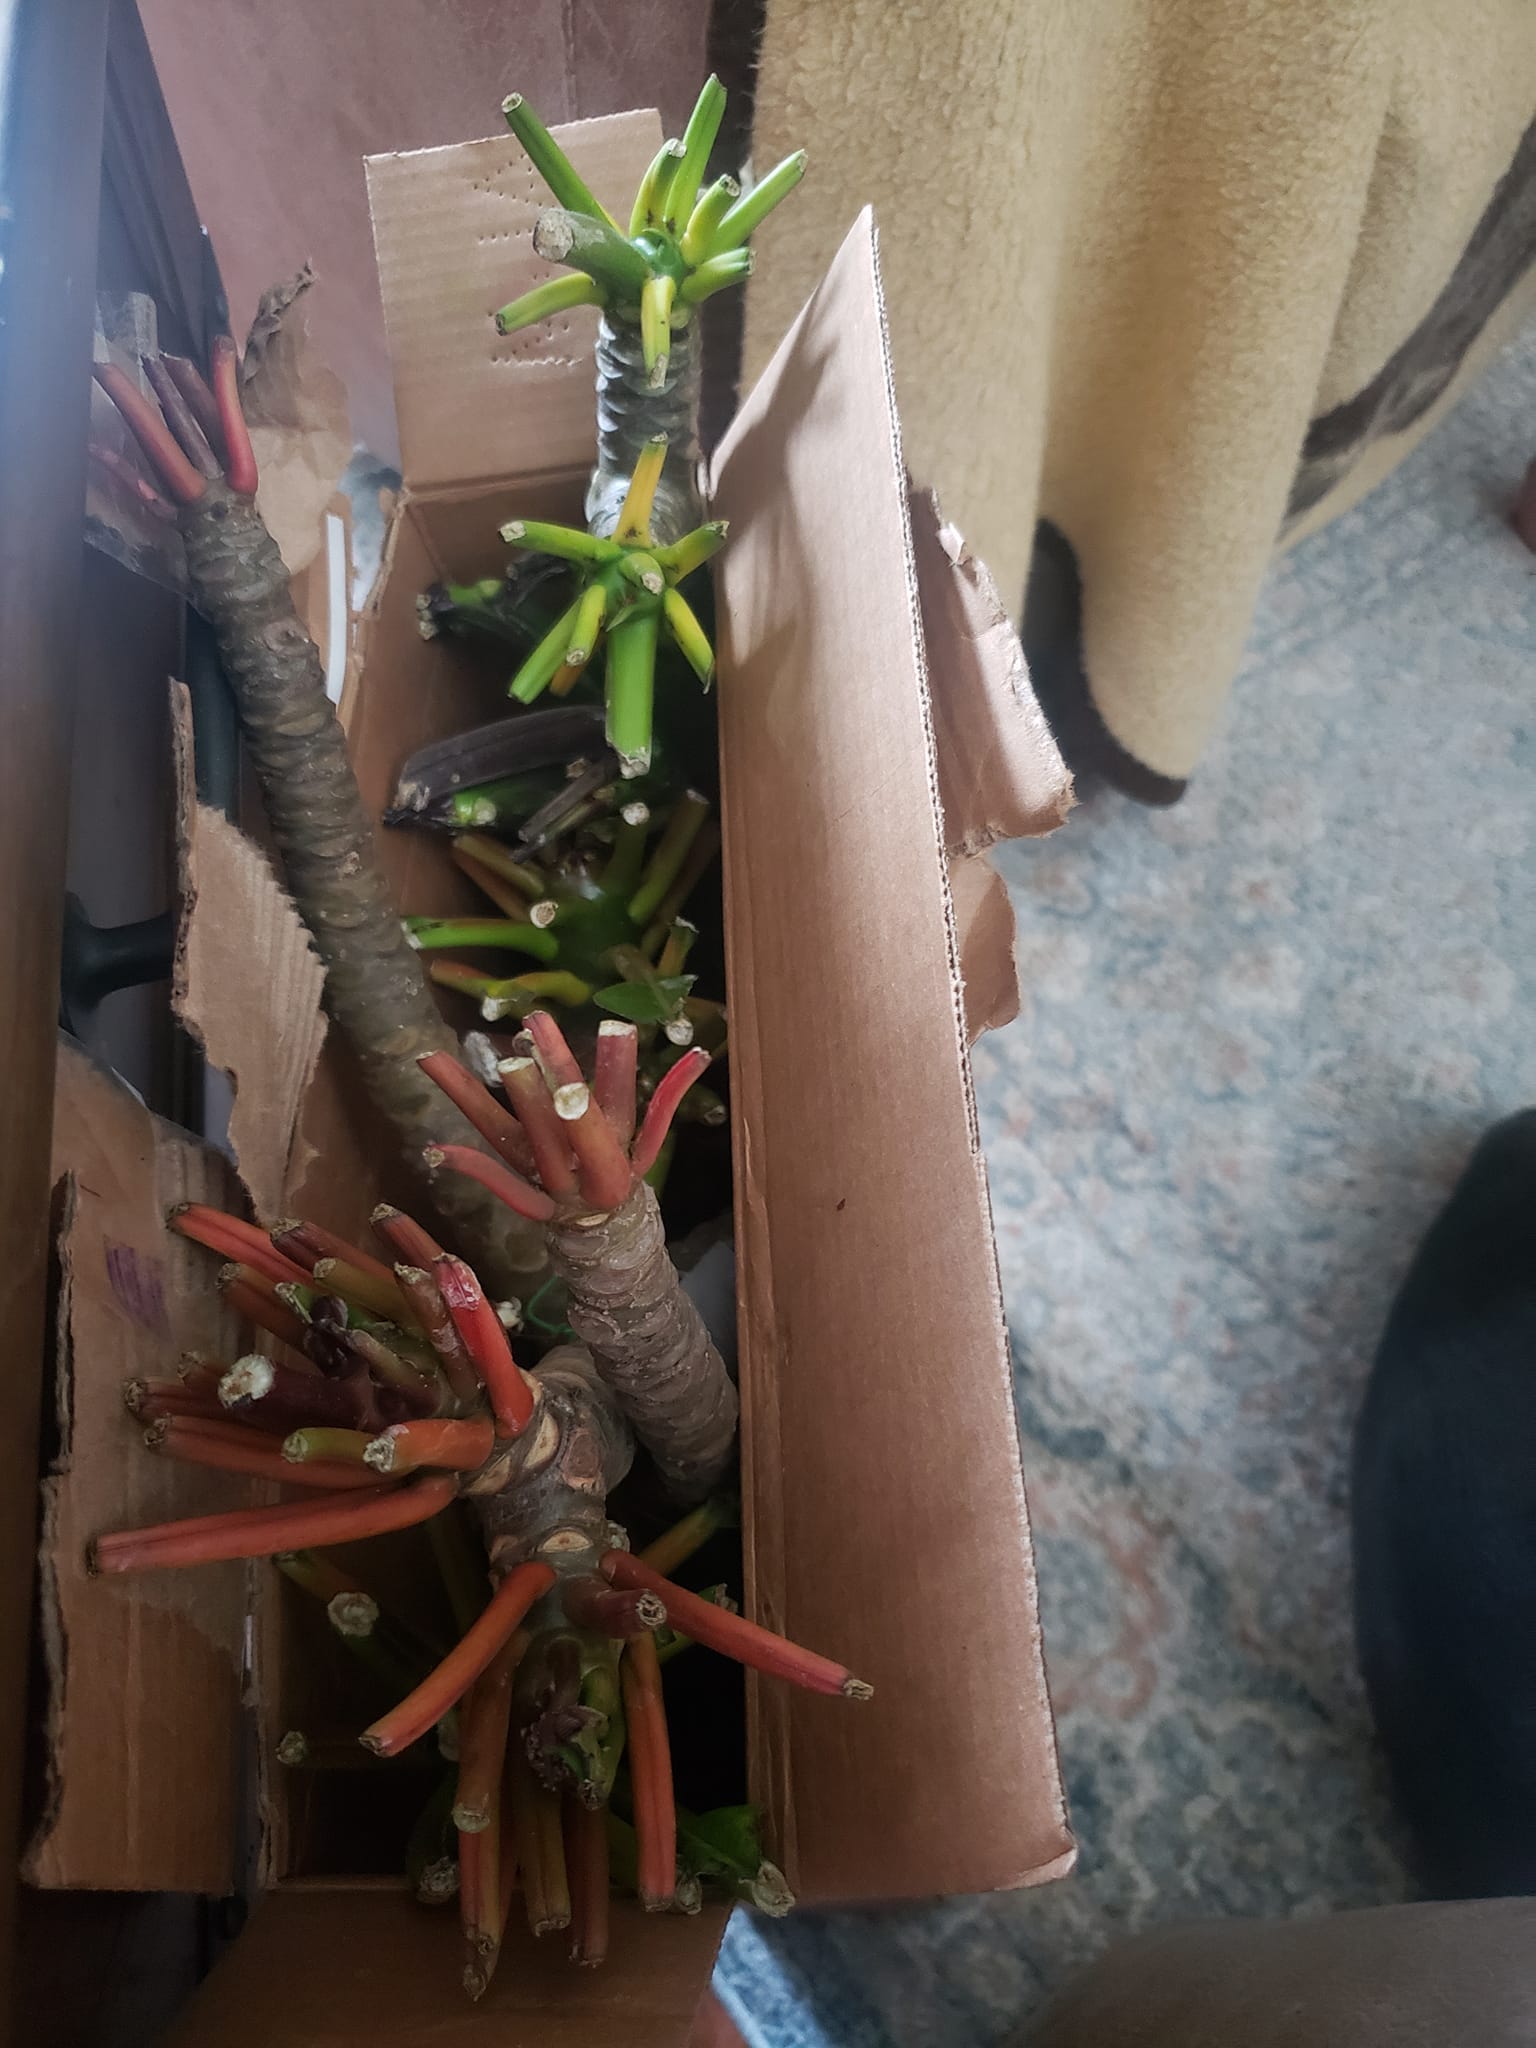
- Healthy plumeria cuttings (10-18 inches long) with a few leaves removed.
- Rooting hormone (optional but recommended)
- A clear plastic bag (gallon-size works well)
(You can also use sandwich bags.) - A small pot with well-draining soil (perlite or cactus mix is ideal)
- Twist ties or rubber bands
- Water spray bottle
2. Prepare the Cutting
Start by selecting a healthy plumeria cutting from the mother plant. The cutting should be mature, with no signs of disease or damage. To increase your chances of successful rooting, remove most of the leaves, leaving just one or two at the top. This reduces the cutting's water requirements while it focuses on forming roots.
Optionally, dip the cut end of the stem into a rooting hormone. While plumeria can root without it, the hormone accelerates the process by stimulating root growth.
3. Plant the Cutting
Next, plant the cutting in a small pot filled with well-draining soil. Plumerias are sensitive to waterlogged conditions, so a mix of perlite, pumice, or cactus soil works best. The cutting should sit about 2-3 inches deep in the soil, with enough stability to remain upright.
Give the soil a light watering to ensure it's slightly moist but not soggy. Overwatering at this stage can cause rot, so be cautious.
4. Bag the Cutting
This is the heart of the plumeria bagging method. Place the entire potted cutting inside the plastic bag and make sure the bag is large enough to cover the plant without touching the leaves too much. The bag will create a humid environment around the cutting, replicating the moist air found in tropical regions.
Seal the bag loosely with a twist tie or rubber band. If you're concerned about airflow, you can poke a few small holes in the bag to prevent excessive moisture buildup, which can lead to mold or rot.
5. Positioning Your Cutting
Place the bagged cutting in a warm, bright location, but avoid direct sunlight, which can cause the temperature inside the bag to spike too high. An ideal spot would be near a sunny window or in a well-lit room with indirect light. Temperatures between 70-85°F (21-29°C) are optimal for plumeria root formation.
Maintaining the Perfect Environment
Once your cutting is bagged and placed in a warm spot, it's important to monitor the moisture levels inside the bag. If condensation builds up heavily on the inside, slightly open the bag to let in some air. On the other hand, if the air inside looks too dry, use a spray bottle to mist the soil lightly.
Check the soil moisture every few days. While you don't need to water frequently due to the high humidity, make sure the soil remains moist but never soggy.
Do you know that I have written guidelines for all the major Plumeria diseases with the pictures and symptoms?
How Long Does It Take for Plumeria to Root?
Patience is key when rooting plumeria cuttings. On average, it takes 4 to 8 weeks for roots to form, but this can vary depending on the temperature, humidity, and the health of the cutting. Warmer conditions speed up the process, while cooler environments may slow it down.
To check if roots have formed, gently tug on the cutting after 4-6 weeks. If you feel resistance, roots are likely growing, and you can begin acclimating the plant by gradually reducing the humidity inside the bag.
Transitioning from Bagging to Open Air
Once your plumeria cutting has developed roots, it's time to transition it to open air. This process, known as "hardening off," should be done gradually to avoid shocking the plant:
- Start by opening the bag slightly for a few hours each day, allowing the plant to adjust to lower humidity.
- Increase the time the bag is open over the course of a week until the plant can stay outside the bag full-time.
- Once fully acclimated, move the plant to a spot where it receives bright, indirect sunlight and continue caring for it like a mature plumeria.
Common Mistakes to Avoid
While plumeria bagging is a reliable method for rooting, there are a few pitfalls to watch out for:
- Overwatering: Too much moisture can cause the cutting to rot. Ensure the soil is well-draining and only slightly moist.
- Excessive heat: If placed in direct sunlight, the temperature inside the bag can become too high, damaging the cutting. Always use indirect light.
- Lack of patience: Rooting takes time. Resist the urge to overcheck or disturb the cutting too frequently.